【深度学习实验】图像处理(二):PIL 和 PyTorch(transforms)中的图像处理与随机图片增强
本实验介绍了通过PIL库完成图片生成、合成、添加文字等操作,并分别使用PIL和PyTorch中的transforms模块实现图像增强功能。
·
文章目录
- 一、实验介绍
- 二、实验环境
- 1. 配置虚拟环境
- 2. 库版本介绍
- 三、实验内容
- 0. 导入需要的工具包
- 1. PIL图像处理
- a. 生成绿色和蓝色图像
- b. 缩放和合成图像
- c 在合成图像上添加文字
- d. 展示并保存图像
- 2. PIL随机图像增强
- a. 定义随机图像增强函数
- b. 实验结果展示
- 3. PyTorch:使用transforms实现随机图像增强
- a. 定义PyTorch随机图像增强函数
- b. 实验结果展示
一、实验介绍
图像处理是计算机视觉和深度学习领域中不可或缺的一部分,本文将介绍Python Imaging Library(PIL)和PyTorch中的图像处理与增强方法,以及如何随机对图像进行增强操作。
本实验将将通过PIL库完成图片生成、合成、添加文字等操作,并分别PIL使用PyTorch中的transforms模块实现图像增强功能。
二、实验环境
本系列实验使用了PyTorch深度学习框架,相关操作如下:
1. 配置虚拟环境
conda create -n DL python=3.7
conda activate DL
pip install torch==1.8.1+cu102 torchvision==0.9.1+cu102 torchaudio==0.8.1 -f https://download.pytorch.org/whl/torch_stable.html
conda install matplotlib
conda install scikit-learn
2. 库版本介绍
| 软件包 | 本实验版本 | 目前最新版 |
|---|---|---|
| matplotlib | 3.5.3 | 3.8.0 |
| numpy | 1.21.6 | 1.26.0 |
| python | 3.7.16 | |
| scikit-learn | 0.22.1 | 1.3.0 |
| torch | 1.8.1+cu102 | 2.0.1 |
| torchaudio | 0.8.1 | 2.0.2 |
| torchvision | 0.9.1+cu102 | 0.15.2 |
三、实验内容
【深度学习实验】图像处理(一):Python Imaging Library(PIL)库:图像读取、写入、复制、粘贴、几何变换、图像增强、图像滤波
0. 导入需要的工具包
1. PIL图像处理
from PIL import Image, ImageDraw, ImageFont, ImageEnhance, ImageFilter
import random
from torchvision import transforms
import matplotlib.pyplot as plt
a. 生成绿色和蓝色图像
使用PIL生成一张绿色图像和一张蓝色图像,它们的尺寸均为512×512像素。
from PIL import Image

# 生成绿色和蓝色图像
size = 512
image_green = Image.new('RGB', (size, size), 'green')
image_blue = Image.new('RGB', (size, size), 'blue')
b. 缩放和合成图像
将绿色图像缩放并放置在蓝色图像中心,使其占据大约70%的区域。
# 缩放绿色图像并合成
green_scaled = image_green.resize((int(size * 0.7), int(size * 0.7)))
position = ((image_blue.width - green_scaled.width) // 2, (image_blue.height - green_scaled.height) // 2)
image_blue.paste(green_scaled, position)
image_result = image_blue.copy()
c 在合成图像上添加文字
# 在合成图像上添加文字
image_ID = image_result.copy()
draw = ImageDraw.Draw(image_ID)
ID = '深度学习——图像处理'
chinese_ttf = "C:\Windows//Fonts//STKAITI.TTF"
size_foot = 40
chinese_font = ImageFont.truetype(chinese_ttf , size=size_foot)
# print(chinese_font.getsize(ID))
print(chinese_font.getlength(ID))
position_ID = ((size - int(chinese_font.getlength(ID))) // 2, size-60)
# 绘制文本
draw.text(position_ID, ID, font=chinese_font)
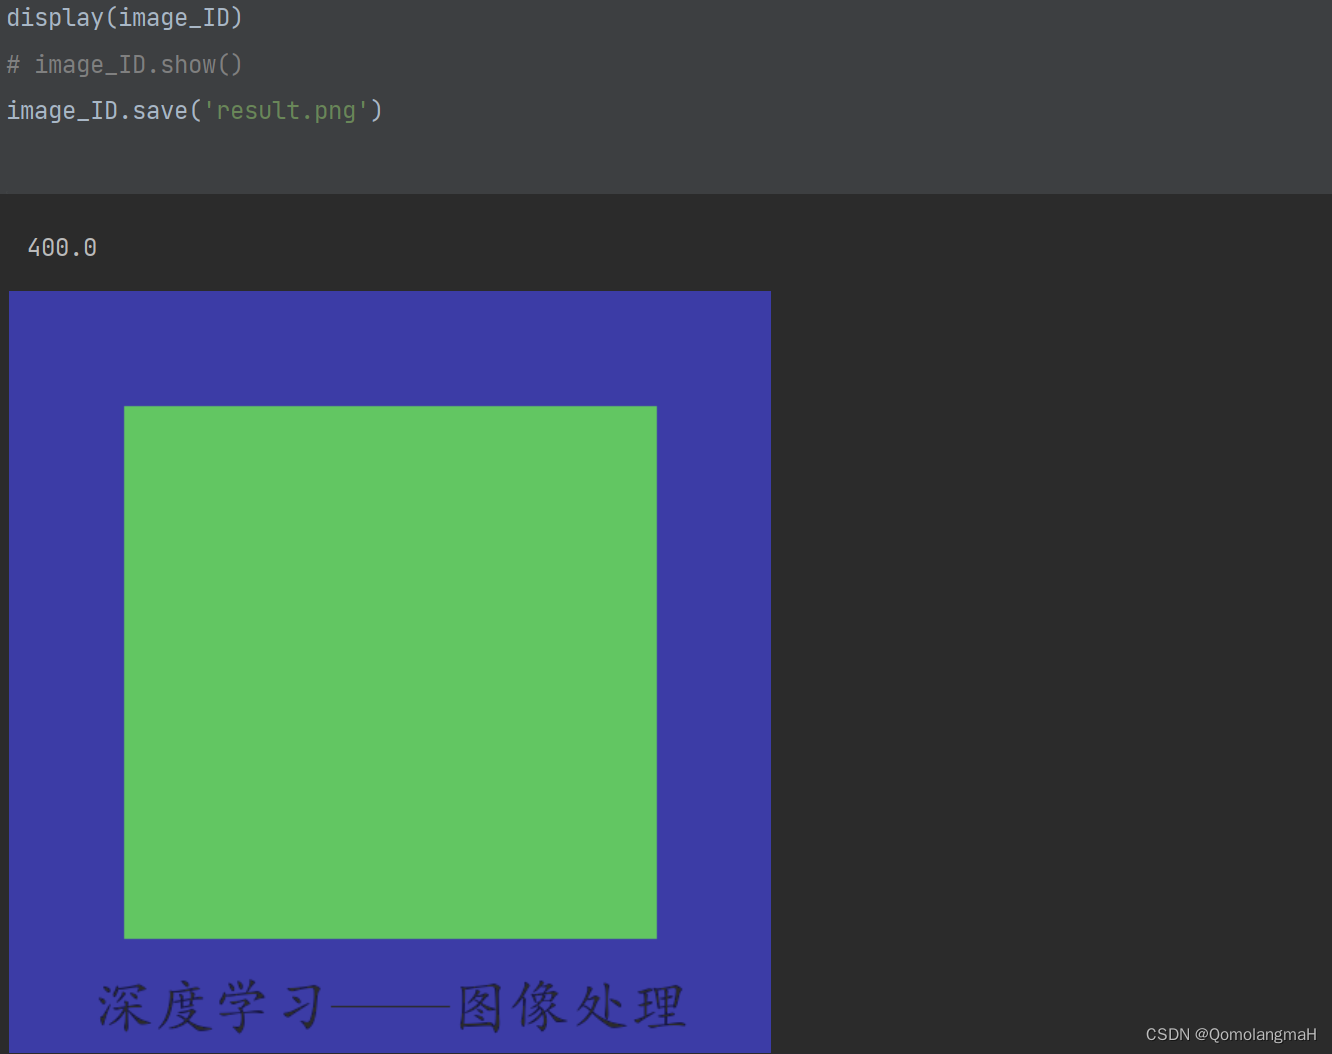
d. 展示并保存图像
display(image_ID)
# image_ID.show()
image_ID.save('result.png')
2. PIL随机图像增强
a. 定义随机图像增强函数
函数接受自然图像作为输入,并以50%的概率随机应用以下增强方法:旋转、翻转、亮度调整、颜色调整、对比度调整、锐度调整和CONTOUR滤波器。
# 随机应用图像增强
def image_enhancement():
    img = Image.open('c.jpg')
    if random.random() < 0.5:
        # rotate旋转
        angle = random.randint(-45, 45)
        img = img.rotate(angle)

    if random.random() < 0.5:
        # flip翻转(左右或上下)
        img = img.transpose(Image.FLIP_LEFT_RIGHT)

    if random.random() < 0.5:
        img = img.transpose(Image.FLIP_TOP_BOTTOM)

    if random.random() < 0.5:
        # brightness altering亮度调整
        enhancer = ImageEnhance.Brightness(img)
        img = enhancer.enhance(random.uniform(0, 1))

    if random.random() < 0.5:
        # color altering色彩调整
        enhancer = ImageEnhance.Color(img)
        img = enhancer.enhance(factor=1.5)

    if random.random() < 0.5:
        # contrastive altering对比度调整
        enhancer = ImageEnhance.Contrast(img)
        img = enhancer.enhance(factor=1.5)

    if random.random() < 0.5:
        # sharpness altering锐度调整
        enhancer = ImageEnhance.Sharpness(img)
        img = enhancer.enhance(random.uniform(0, 2))

    if random.random() < 0.5:
        # CONTOUR滤波器
        img = img.filter(ImageFilter.CONTOUR)
    return img
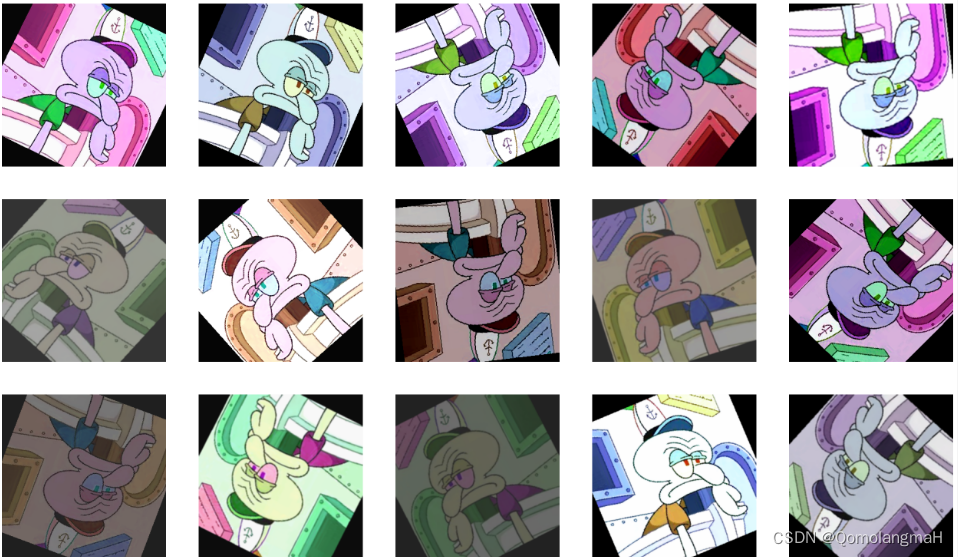
b. 实验结果展示
【深度学习】 Python 和 NumPy 系列教程(廿六):Matplotlib详解:3、多子图和布局:subplots()函数
x = 5
y = 5
fig, axs = plt.subplots(x, y, figsize=(32, 32))
for i in range(x):
    for j in range(y):
        img = image_enhancement()
        axs[i, j].imshow(img, aspect='auto')
        axs[i, j].axis('off')  # 关闭坐标轴
plt.show()
3. PyTorch:使用transforms实现随机图像增强
a. 定义PyTorch随机图像增强函数
在PyTorch中,使用transforms模块可以轻松实现相同的随机图像增强功能。
transform = transforms.Compose([
        transforms.RandomRotation(45, resample=False, expand=False, center=None),
        transforms.RandomHorizontalFlip(p=0.5),
        transforms.RandomVerticalFlip(p=0.5),
        transforms.ColorJitter(brightness=0.5,      # 亮度
                               contrast=0.5,        # 对比度
                               saturation=0.5,      # 抖动饱和度
                               hue=0.5),            # 色调抖动的程度
        # https://pytorch.org/vision/stable/generated/torchvision.transforms.v2.ColorJitter.html#torchvision.transforms.v2.ColorJitter
        # transforms.RandomResizedCrop(size=(img.width, img.height), scale=(0.8, 1.0), ratio=(0.75, 1.333)),
        # 高斯模糊
        transforms.RandomApply([transforms.GaussianBlur(kernel_size=3)], p=0.5),
    ])
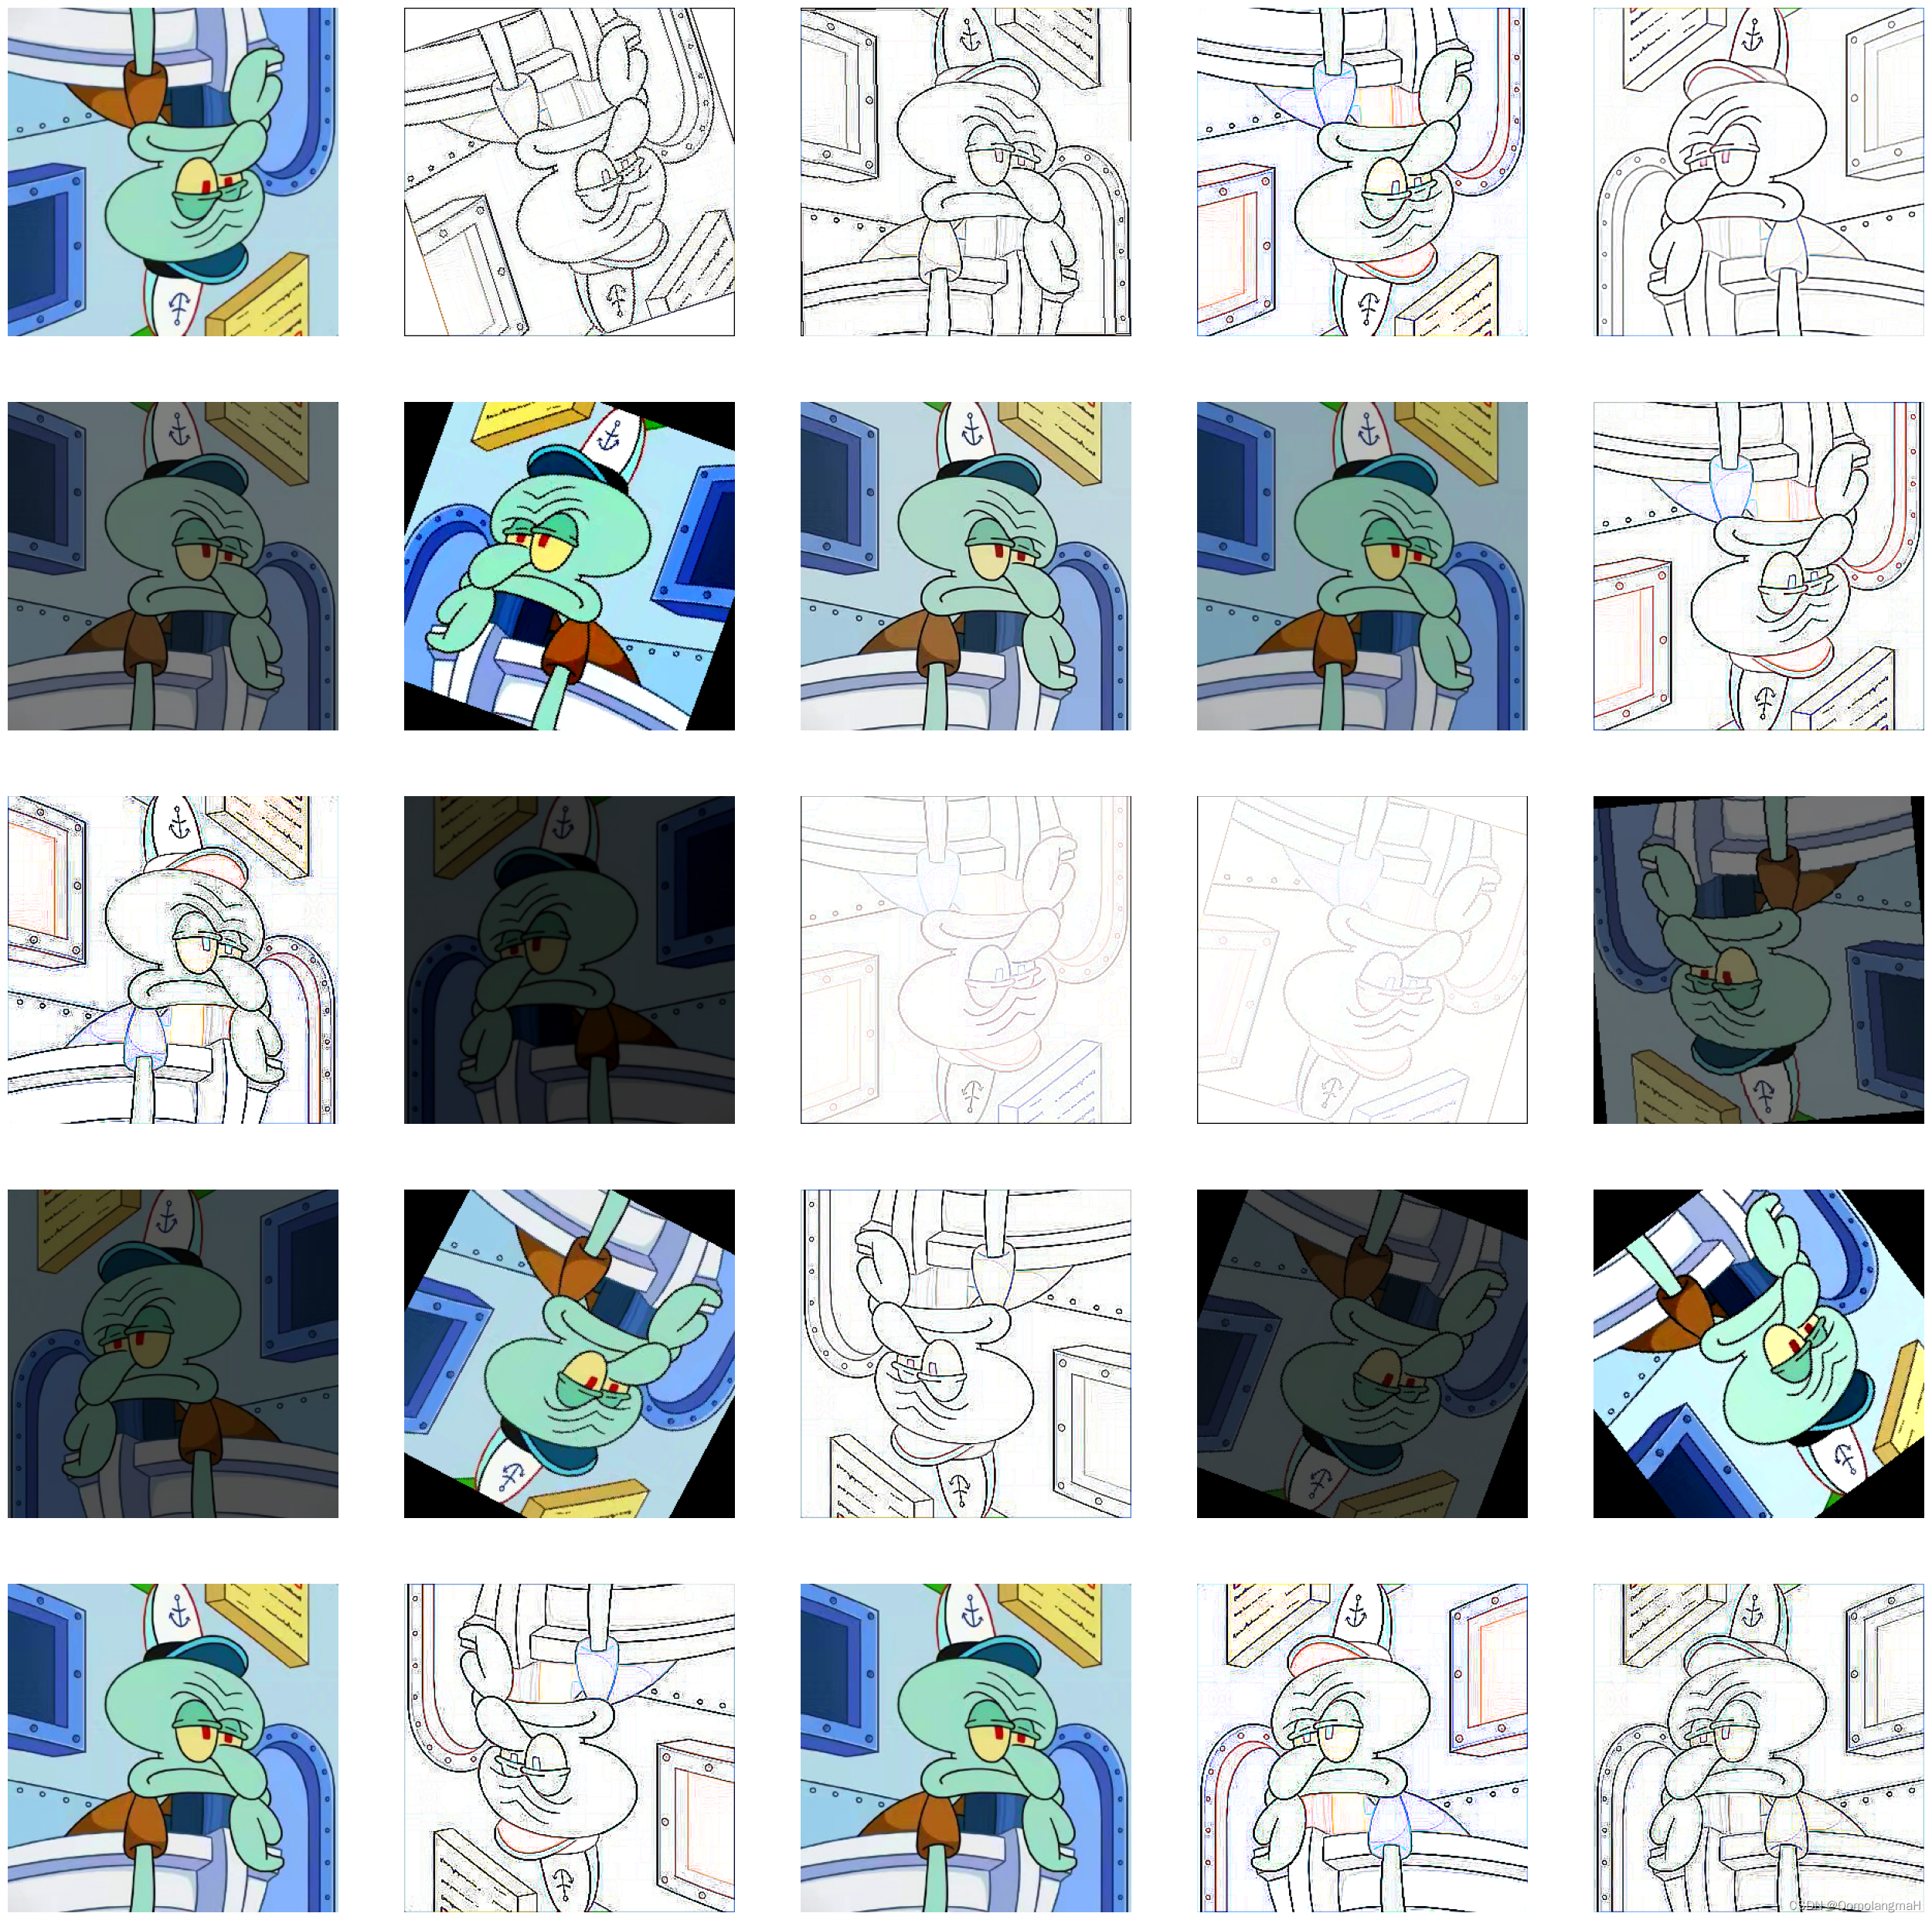
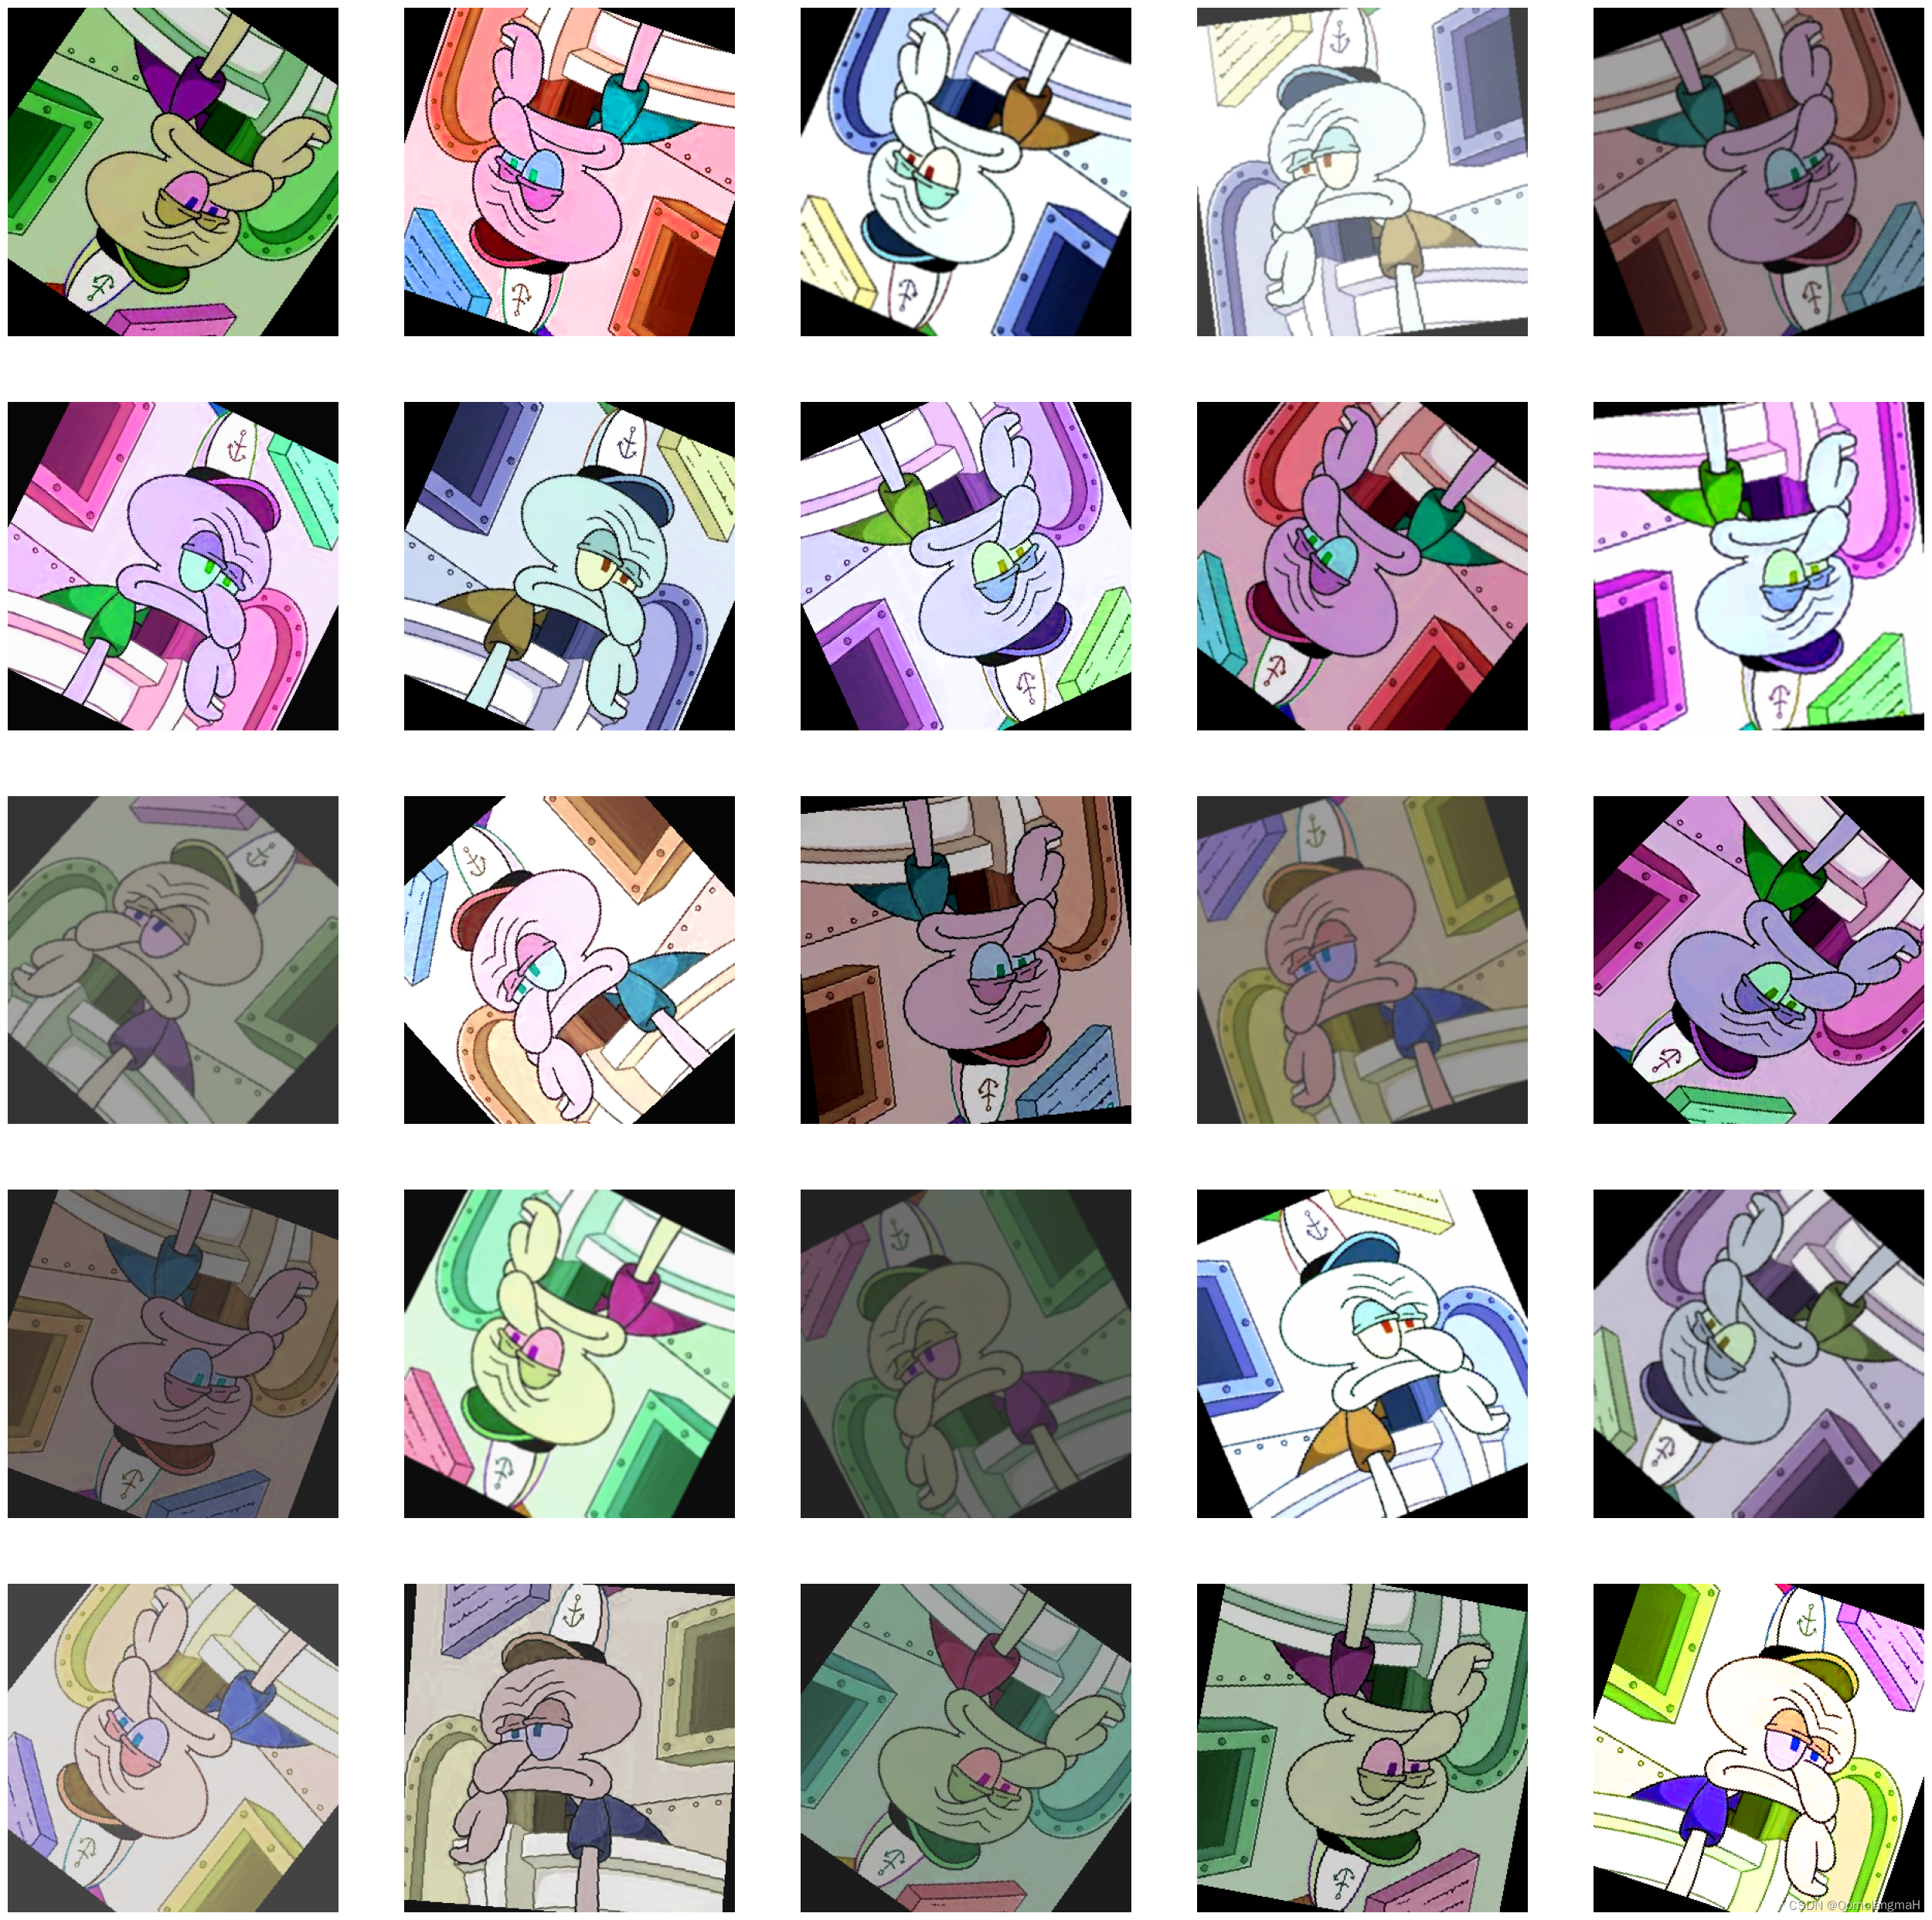
b. 实验结果展示
x = 5
y = 5
fig, axs = plt.subplots(x, y, figsize=(32, 32))
for i in range(x):
    for j in range(y):
        img = Image.open('c.jpg')
        img = transform(img)
        axs[i, j].imshow(img, aspect='auto')
        axs[i, j].axis('off')  # 关闭坐标轴
plt.show()

助力广东及东莞地区开发者,代码托管、在线学习与竞赛、技术交流与分享、资源共享、职业发展,成为松山湖开发者首选的工作与学习平台
更多推荐


 1
1 0
0- 0


 已为社区贡献1条内容

所有评论(0)